Solution
Follow the screening principle of "from simple to complex, from outside to inside".
Step 1: Quick Inspection and Visual Inspection
Check materials:
Confirm that the tray is not used incorrectly.
Visually inspect the material strip to see if there are any abnormalities such as empty spaces, component flipping, tilting, etc.
Use the manual feeding function to observe whether the feeding process is smooth.
Check the suction nozzle:
Visual inspection: for blockages, obvious wear or damage.
Cleaning: Use a dedicated needle or ultrasonic cleaning machine to clean the suction nozzle.
Replacement test: Replace with a brand new nozzle of the same model for testing.
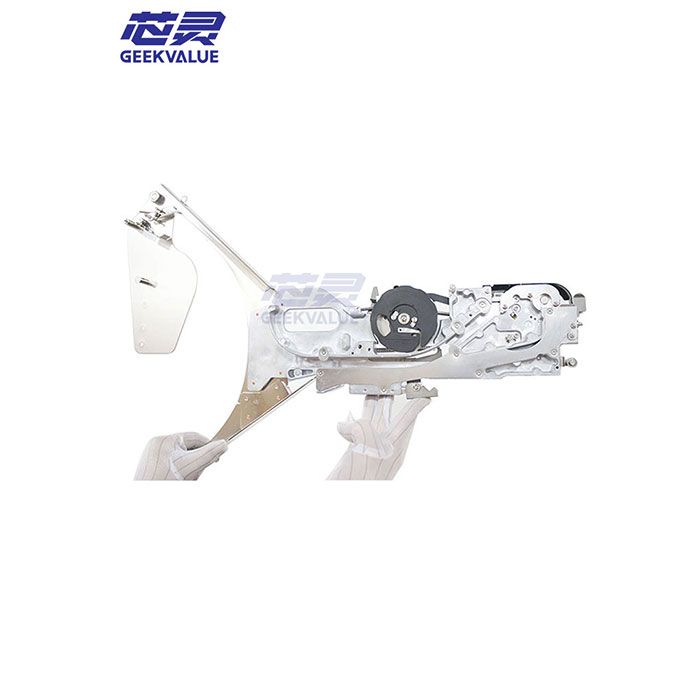
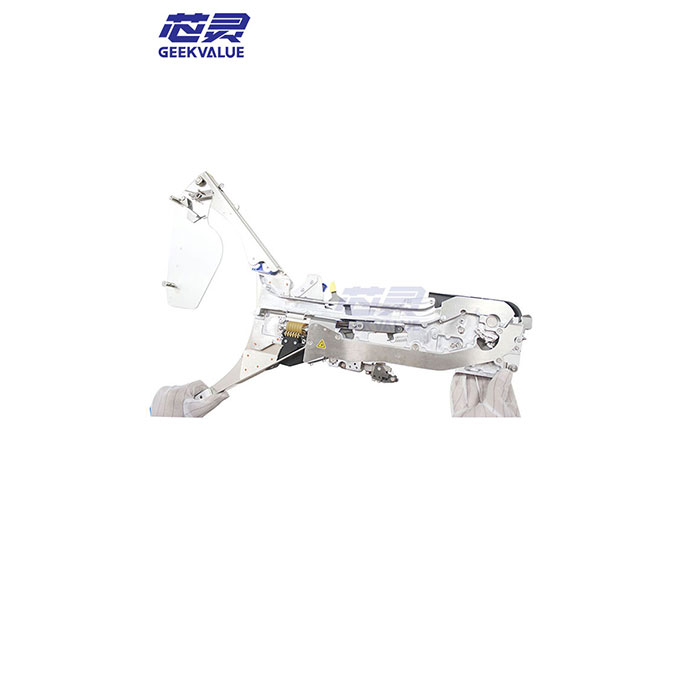
Check the installation of the feeder:
Confirm that the feeder is locked on the feeding station and there is no shaking in the front, back, left, or right direction.
Step 2: Basic Function Testing and Calibration
Perform Pick Height calibration for the suction nozzle:
Use a calibration fixture to ensure that the height of the suction nozzle is accurate at the feeding position.
Test vacuum value:
Enter the vacuum testing menu of the machine and manually test the picking vacuum value and mounting vacuum value of the suction nozzle station.
Standard: The vacuum value should usually reach 60% -70% or more of the set value when picking up; After installation, the vacuum value should be able to maintain stability.
If the vacuum value is low: Check the leakage points one by one along the vacuum gas path (suction nozzle ->pole position ->rotary head ->fixed air pipe).
Calibration of material retrieval position:
Use the 'Teach Pick Position' function of the machine to re teach the material center of the component with the camera. This is the most direct and effective method to solve material deviation.
Step 3: Program and Parameter Optimization
Verify component library data:
Carefully check the length, width, and thickness in the component library. Thickness errors can directly lead to incorrect material height.
Check if the type of component (such as Chip, SOIC, BGA, etc.) is selected correctly.
Optimize vacuum detection threshold:
If it is confirmed that the picking process is physically normal, but the machine still reports an error, the lower limit of the picking vacuum detection can be appropriately relaxed. But caution should be exercised to avoid masking the true malfunction.
Verify the type of feeder:
In the machine material station table, confirm that the type of feeder set at the station is completely consistent with the actual installation.
Step 4: Systematic troubleshooting and component replacement
Replace the feeder for testing:
Swap the wrong feeder with a known good feeder of the same model.
If the problem occurs with the feeder, it indicates that the feeder is faulty and needs to be repaired or replaced.
If the problem remains at the original station: it indicates that the problem is on the machine side (such as the mounting head, the vacuum path of the station, etc.).
Thoroughly inspect the mounting head:
Check if the O-ring of the suction nozzle pole is aging.
Check if the vacuum breaking solenoid valve is working properly and if there is any air leakage.
Check the machine level and material station platform:
Use a spirit level to check the overall level of the machine, especially in the material station platform area. Unevenness can lead to inconsistent height of the feeder, affecting material retrieval.